For some time I’ve been curious on how to do things with the depth buffer using Stage3D.
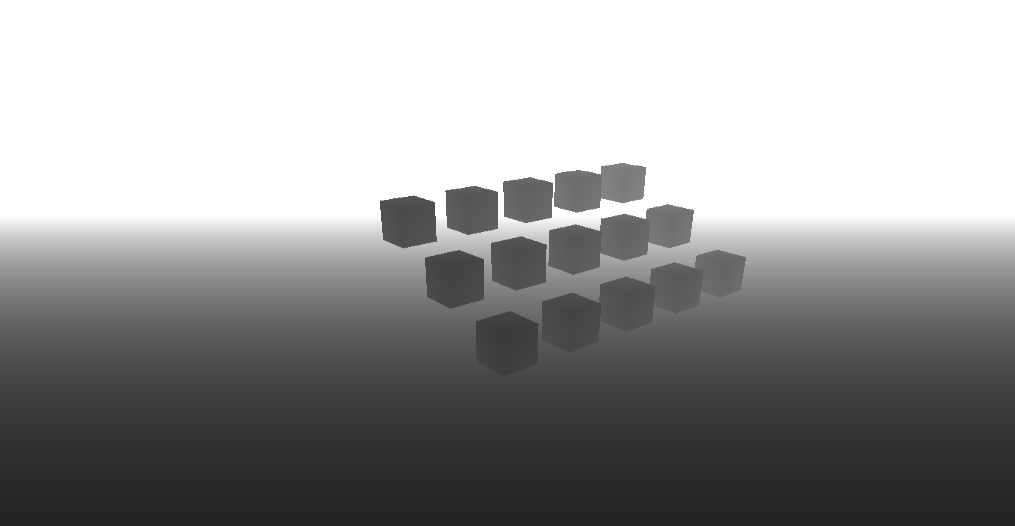
As far as I could find, there is no real “direct” way to access the depth buffer with Stage3D, so I went ahead and did the next best thing, which was to build my own Depth Buffer in a shader.
I saw that this could be done thanks to Flare3D’s MRT demo and started learning how I could use this to test out some things I’ve been thinking about.
Now that I had a depth buffer in place, the next step was to use this to see what sort of techniques I could combine it with.
I’ve been following Dan Moran on Patreon and decided to try out an intersection highlight shader which he describes in one of his videos. This looked fun to do, so I went ahead and tried to implement a basic form of it using Flare3D’s shading language FLSL.
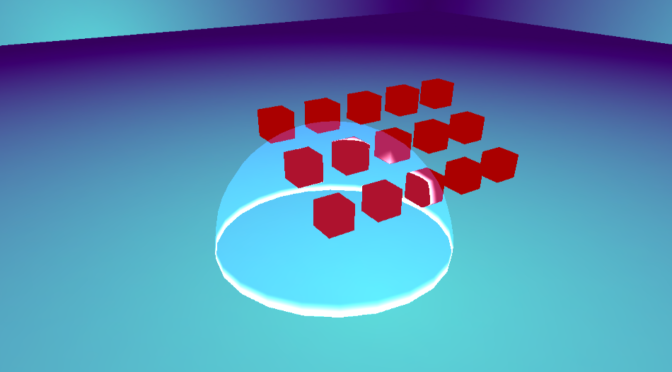
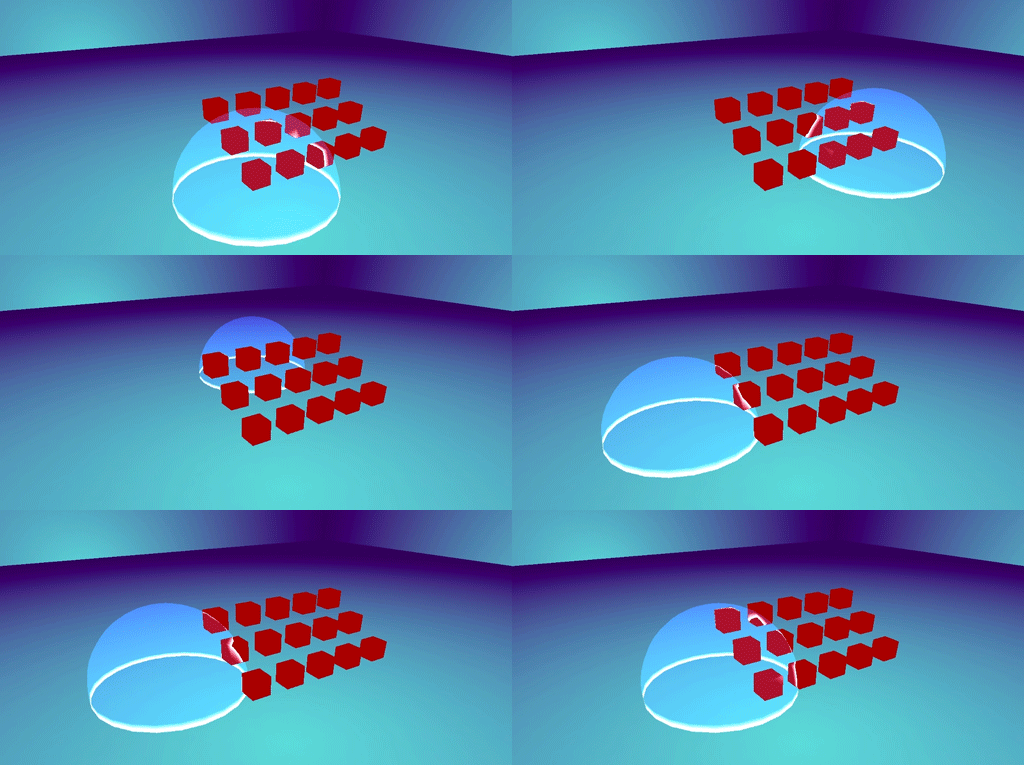
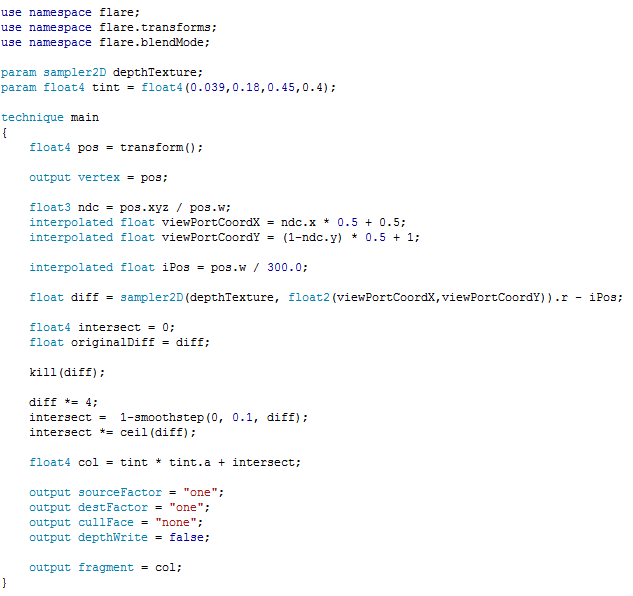
Here’s how the shader turned out:
You can also get it from here
The way that this shader works is in the following:
- Provide a texture with depth information
- Check if the difference between your current position and the value on the depth buffer is within a threshold
- If it is within the threshold, then use the smoothStep function to create a sort of “fall-off” effect, which at the maximum value makes the color white, and if not it fades out into the color of your mesh (or the tint being applied to it)
- One more thing to keep in mind is that you need to use screen space coordinates so that you test against the texture’s UVs and your own position
There are some more things to consider, such as the color format of your depth texture. If you use regular 32 bit RGBA values, then you will get some banding since the data in depth texture won’t be as precise as you need it, so using an RGBA_HALF_FLOAT value is recommended.
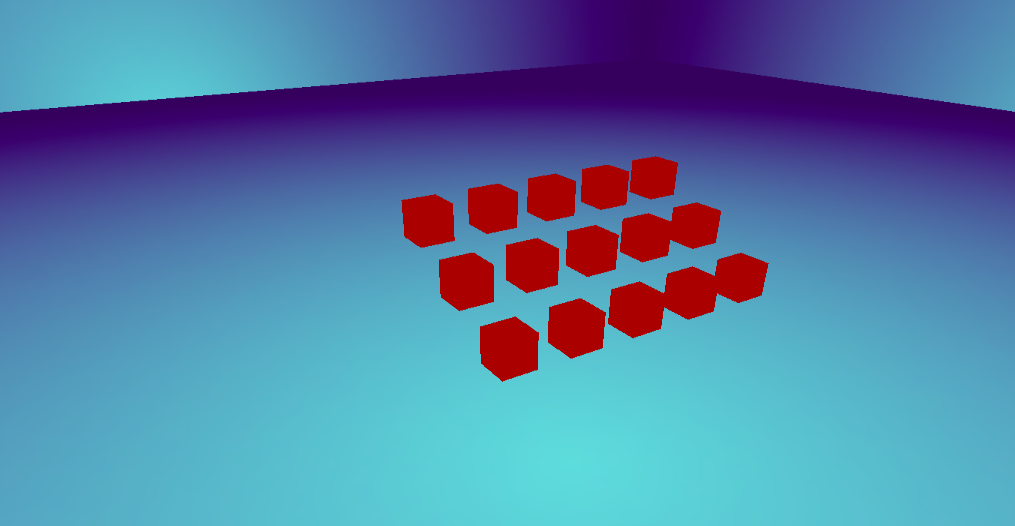
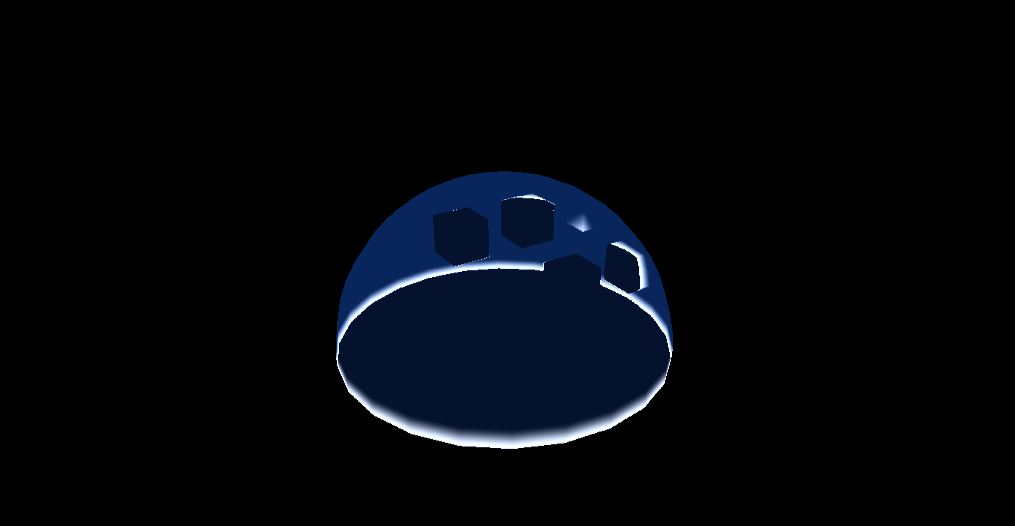
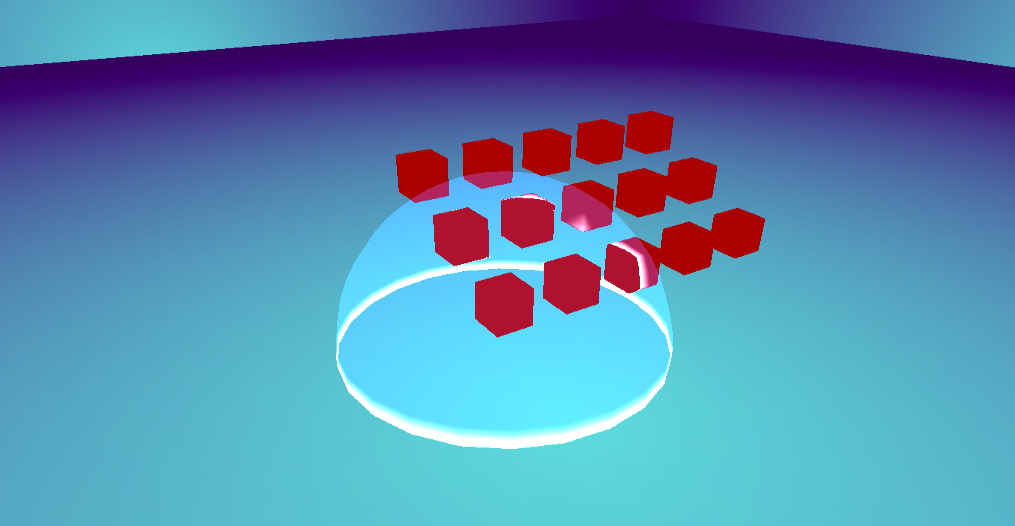
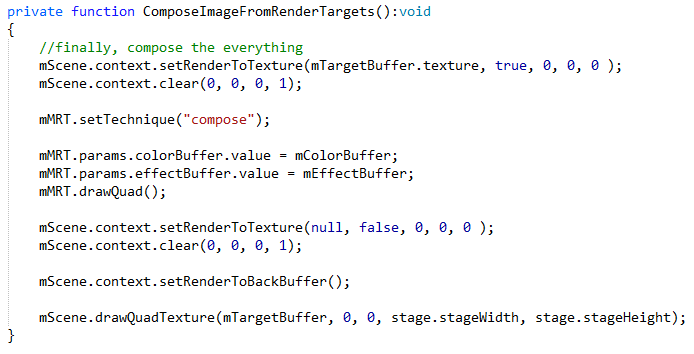
The final part comes by composing the 2 buffers together to create the final image. This is achieved by performing additive blending of the 2 render targets using another shader that outputs it to a final 3rd render target, which is then drawn on screen.
+
=
But, in practice how is this all achieved?
- Render all the geometry that you don’t want to use for effects together to a render target
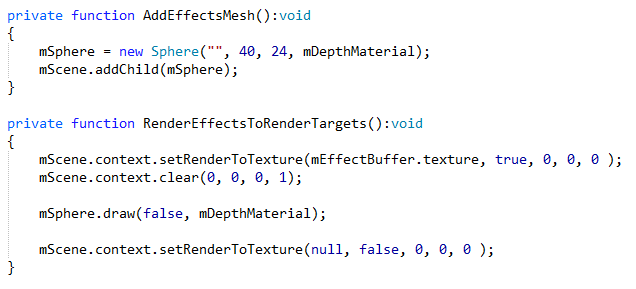
- Render your effect meshes to another render target and supply the depth texture as a parameter
- Finally, take the outputs of steps 1 & 2, and place them into a 3rd shader that does the additive blending for you and “composes” the final image for your shader.
- Draw a full screen quad with your final composed image!
Using Intel GPA you can see how the Render Targets all look:
In this case, you are only drawing what you need once to a number of buffers, and in the end compositing an image from all the various steps.
I’ve created a repo on GitHub that you can download and check out and hopefully extend for your own needs
You can also follow me on @jav_dev

