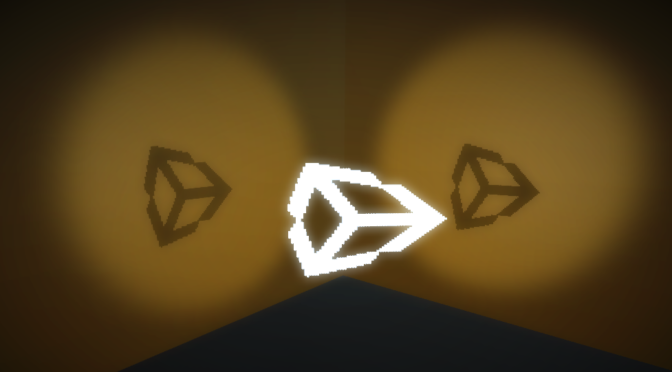
A few days ago I saw video titled Shadow art is better with Legos
Watching this video got me thinking about how something like this could be done and started to look for more information on what this was all about.
I was interested in seeing what other possibilities for Shadow Art were available and found some interesting ideas.

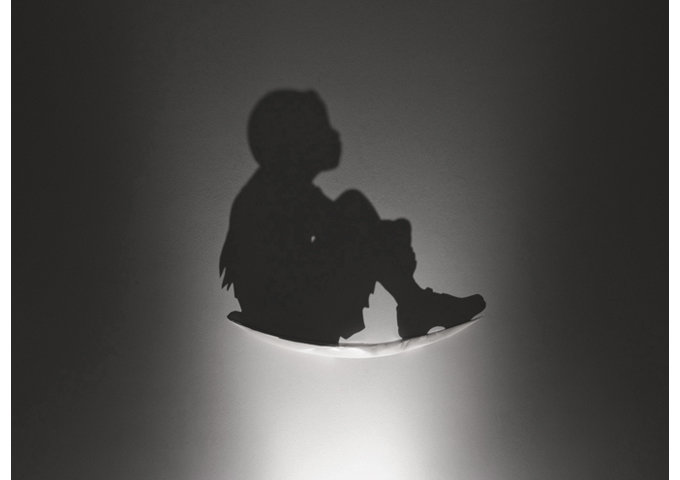

That’s only a subset of what can be described as Shadow Art!
The way I understood it, was that you could arrange shapes in multiple ways to block the light and end up with a shadow that created a familiar shape.
The great thing about programming is that, usually, you can take an idea and turn that into some sort of demo! Even better when graphics are involved 😉
So, I decided to go ahead and make a demo that would result in some sort of Shadow Art!
Using Unity allowed me to focus on the core of the problem rather than going out and solving all sorts of dependencies that the idea depended on.
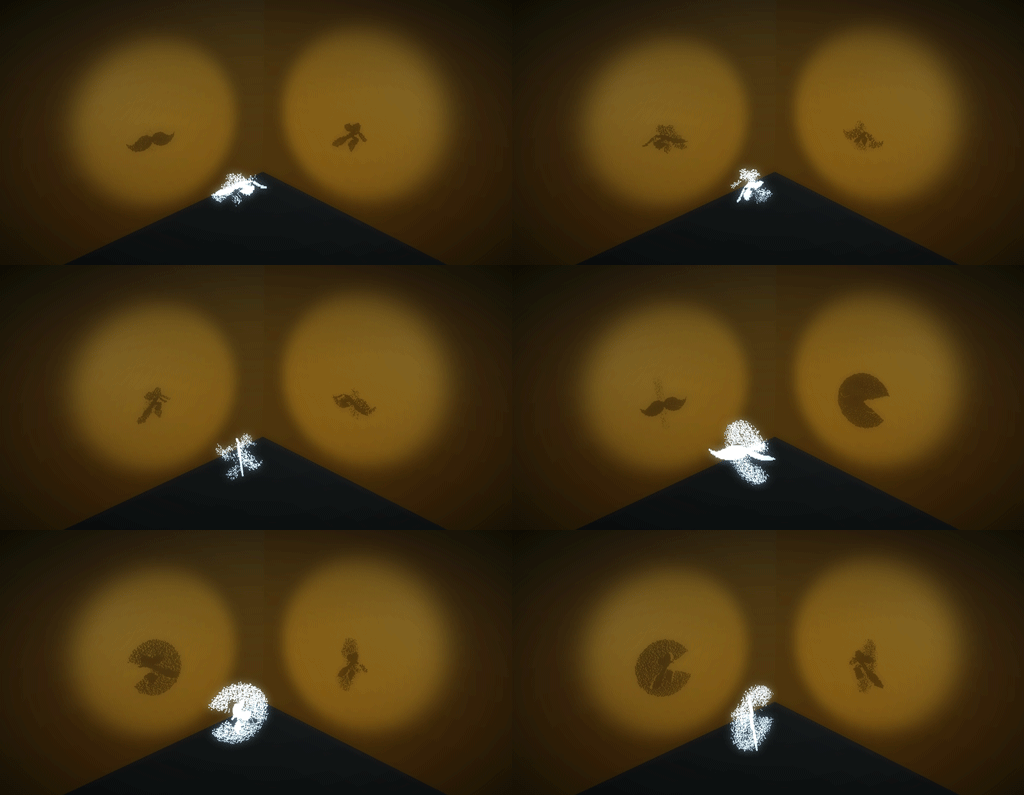
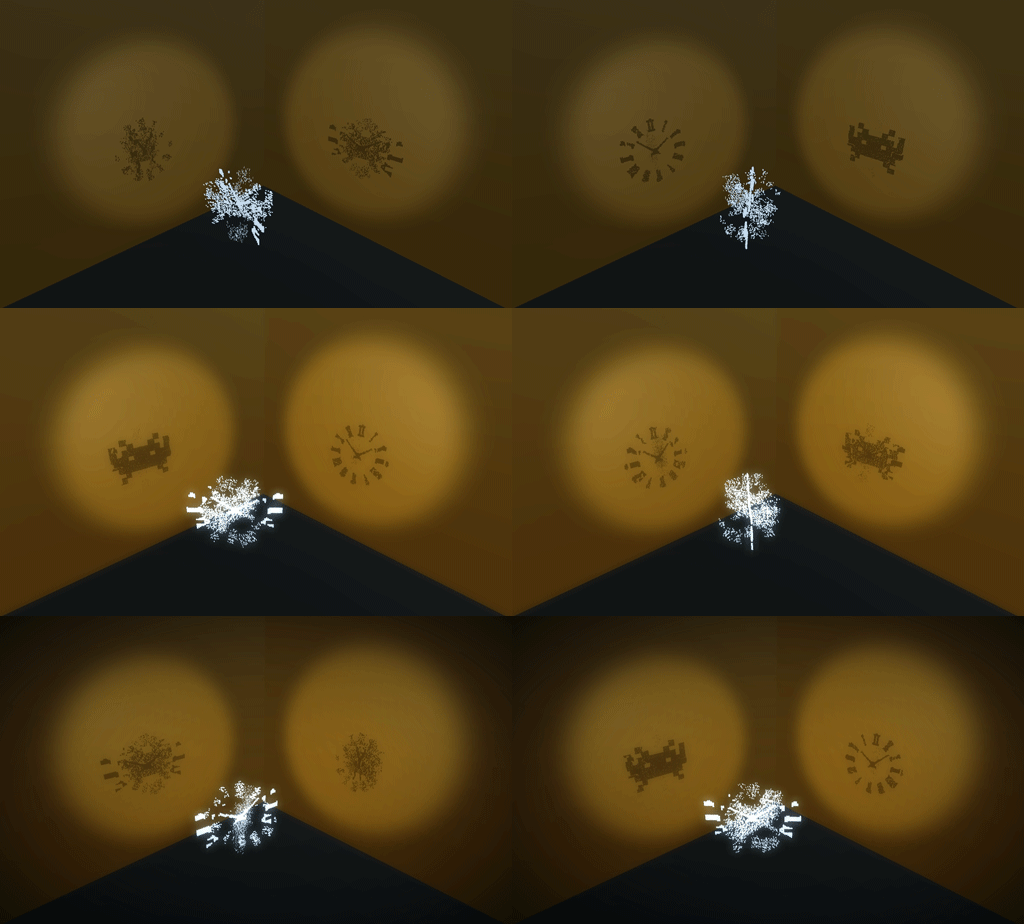
Here’s the result:
Thank’s to Unity’s WebGL export capabilities I’ve put up a runnable version of this code:
Shadow Art with Unity Demo, check it out!

Here’s a more technical explanation of how this was achieved
The setup
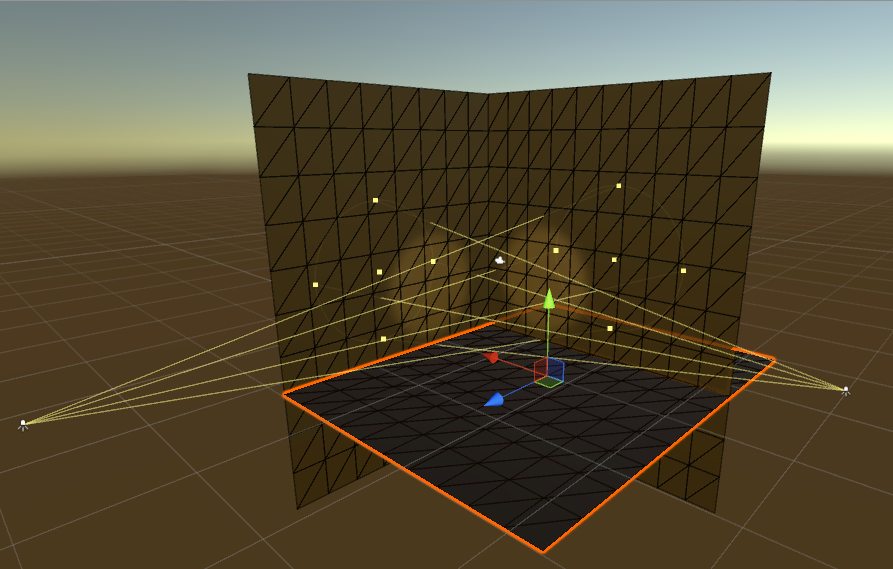
I went for having 2 spot lights set up, to project the shadows
Then have a number of textures that are used to create the geometry
Since there are 2 spotlights, I wanted to see if 2 separate shadows could be generated from the same mesh, similar to what was being done on the video shown for the Magical Angle Sculptures, except I went for just 2 shadows instead of 3!
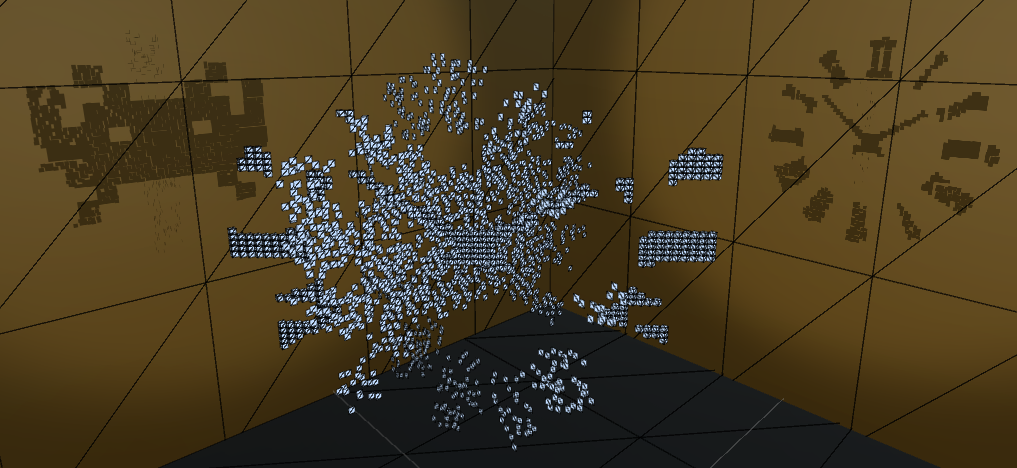
The way this is computed is in 3 passes:
First Pass
This is the most important step, since it is here where the overlap is calculated and sets up the base for showing 2 shadows at the same time.
To figure out the overlap:
- Iterate through the pixels on one of the textures
- As soon as there’s an opaque pixel do a look up on the other texture
- If the lookup results in a pixel that’s also opaque, then generate the vertices for a cube at that position (x,y) and then center the z position
- Lastly, the overlapping pixel is stored so that it is not accessed again
Second & Third Pass
These are more generic, and essentially create geometry for opaque pixels where geometry hasn’t been created before.
To give it a less uniform feel, there’s a random depth value applied to each new piece of geometry.
Image Effects
Unity comes with a number of pre-built Image Effects which helped to make this look more presentable.
I’m using the Vignette and Bloom Image Effects to create the final look for the presentation. You can see how adding them up looks below.
Hope you find this fun to play around with, and if you have some cool ideas let me know!
And remember, you can always follow me on twitter @JavDev

