Shadow Art with Unity

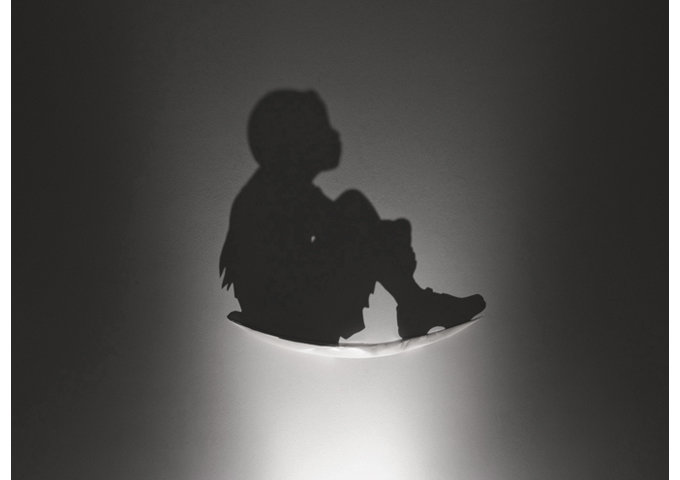
A few days ago I saw video titled Shadow art is better with Legos 

Watching this video got me thinking about how something like this could be done and started to look for more information on what this was all about.

I was interested in seeing what other possibilities for Shadow Art were available and found some interesting ideas.

That’s only a subset of what can be described as Shadow Art!

The way I understood it, was that you could arrange shapes in multiple ways to block the light and end up with a shadow that created a familiar shape.

The great thing about programming is that, usually, you can take an idea and turn that into some sort of demo! Even better when graphics are involved 😉

So, I decided to go ahead and make a demo that would result in some sort of Shadow Art!

Using Unity allowed me to focus on the core of the problem rather than going out and solving all sorts of dependencies that the idea depended on.

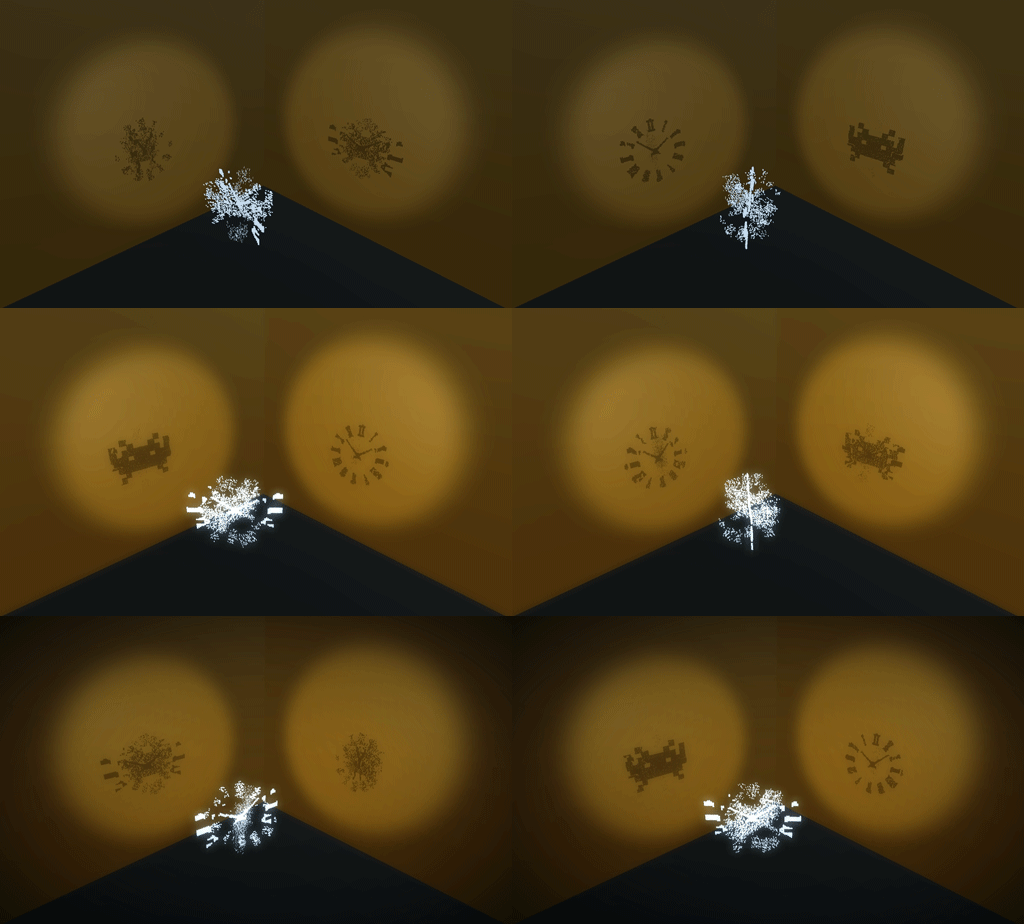
Here’s the result:

shadow_art

Thank’s to Unity’s WebGL export capabilities I’ve put up a runnable version of this code:

Shadow Art with Unity Demo, check it out!

launch_demo
Launch the Demo!


Here’s a more technical explanation of how this was achieved

The setup

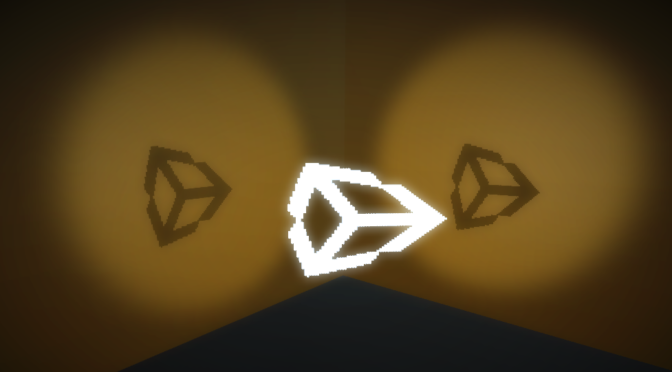
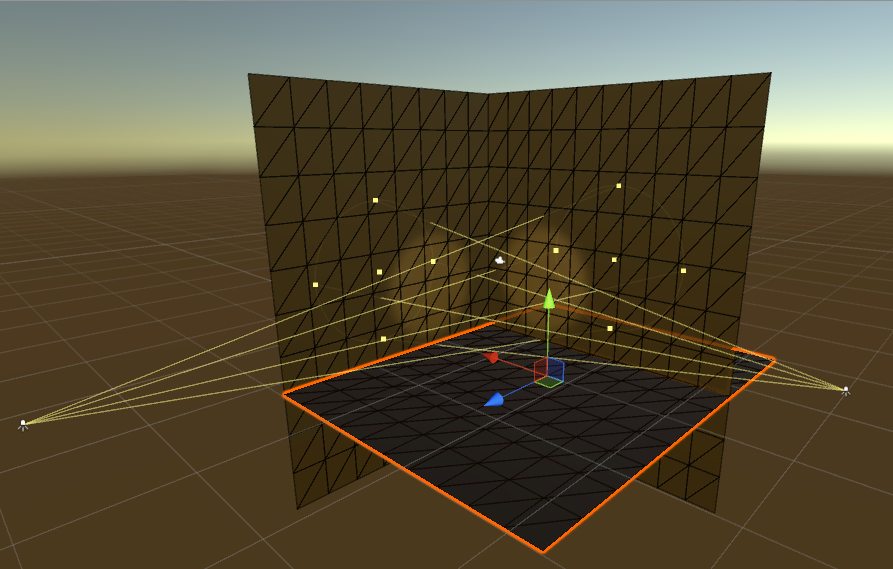
I went for having 2 spot lights set up, to project the shadows

two_spotlights

Then have a number of textures that are used to create the geometry

textures_shadow_art

Since there are 2 spotlights, I wanted to see if 2 separate shadows could be generated from the same mesh, similar to what was being done on the video shown for the Magical Angle Sculptures, except I went for just 2 shadows instead of 3!
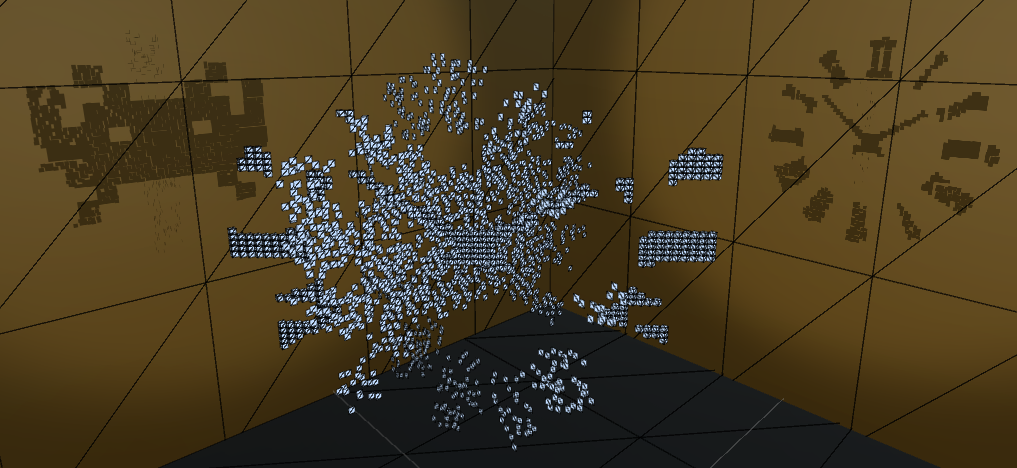
combined_mesh
The resulting mesh

The way this is computed is in 3 passes:

First Pass

This is the most important step, since it is here where the overlap is calculated and sets up the base for showing 2 shadows at the same time.

To figure out the overlap:

  1. Iterate through the pixels on one of the textures
  2. As soon as there’s an opaque pixel do a look up on the other texture
  3. If the lookup results in a pixel that’s also opaque, then generate the vertices for a cube at that position (x,y) and then center the z position
  4. Lastly, the overlapping pixel is stored so that it is not accessed again

Second & Third Pass

These are more generic, and essentially create geometry for opaque pixels where geometry hasn’t been created before.

To give it a less uniform feel, there’s a random depth value applied to each new piece of geometry.

Image Effects

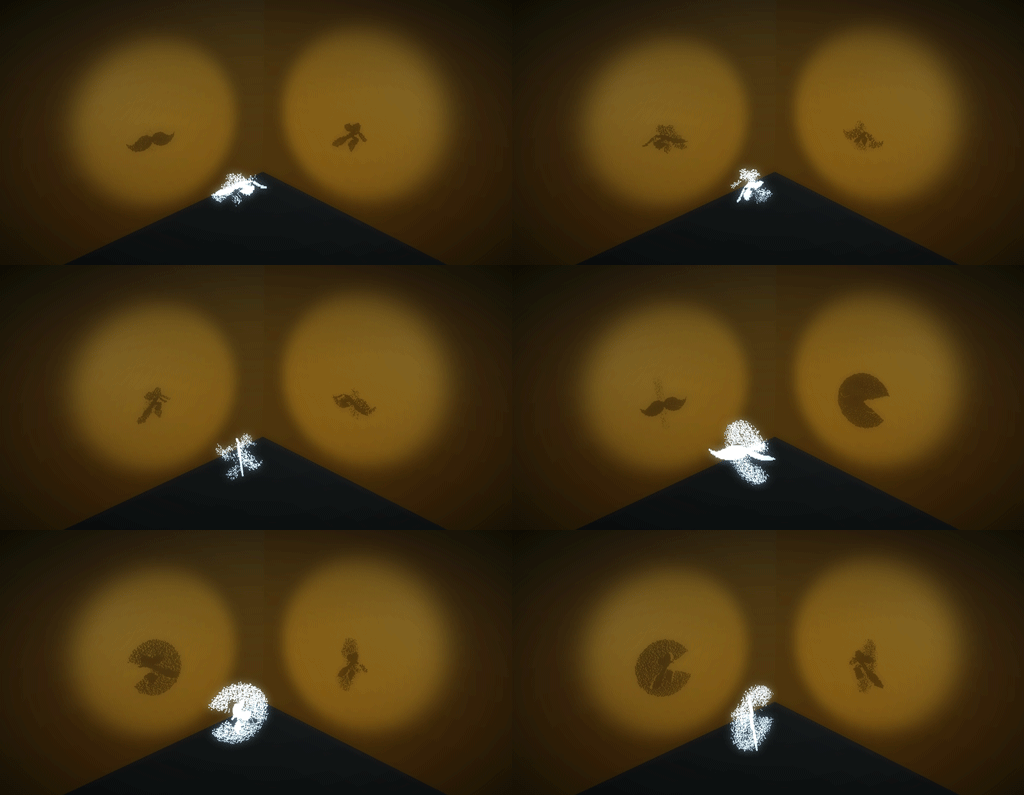
Unity comes with a number of pre-built Image Effects which helped to make this look more presentable.

I’m using the Vignette and Bloom Image Effects to create the final look for the presentation. You can see how adding them up looks below.

shadow_art_image_effects

Hope you find this fun to play around with, and if you have some cool ideas let me know!

And remember, you can always follow me on twitter @JavDev

3D Printing your game code

A while ago I heard that Shapeways launched a format called SVX that allowed for the exporting of voxel geometry to an intermediate format. This format could then be uploaded to their servers and they would then convert it to something that could be 3D printed!

This sounded like it would be a lot of fun to investigate, so I started looking at their format so that I could go ahead with some of the ideas I had.

The format is pretty straight forward, as it says that if there is a voxel occupying a region, it should be marked as white on a white & black image (PNG).

Enter

web_logo_384

So, for the last 2 years I’ve been part of a team working on a game that lets users create all sorts of whacky levels, using blocks. Not only that, but we’ve had real time multiplayer from the start and we’ve also allowed you to customize your avatar, so pretty much everything in the game is user generated content.

We’ve had a number of releases, and at one point we had a level with Bots in it, where you would go in and see how long you could survive after BLASTING endless waves of bots!

Seeing how this was the most played level at the time, I thought it would be great to use that as my go-to model for my little 3D printing experiment.

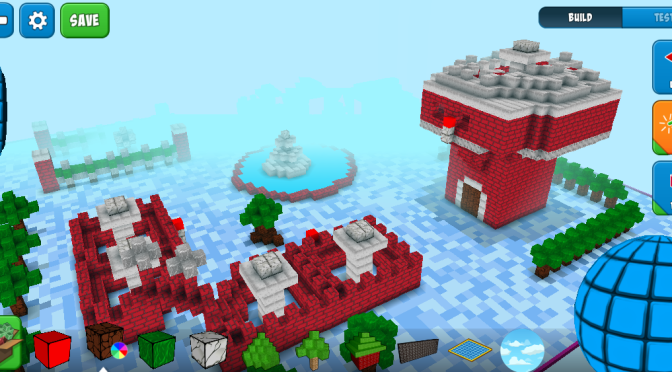
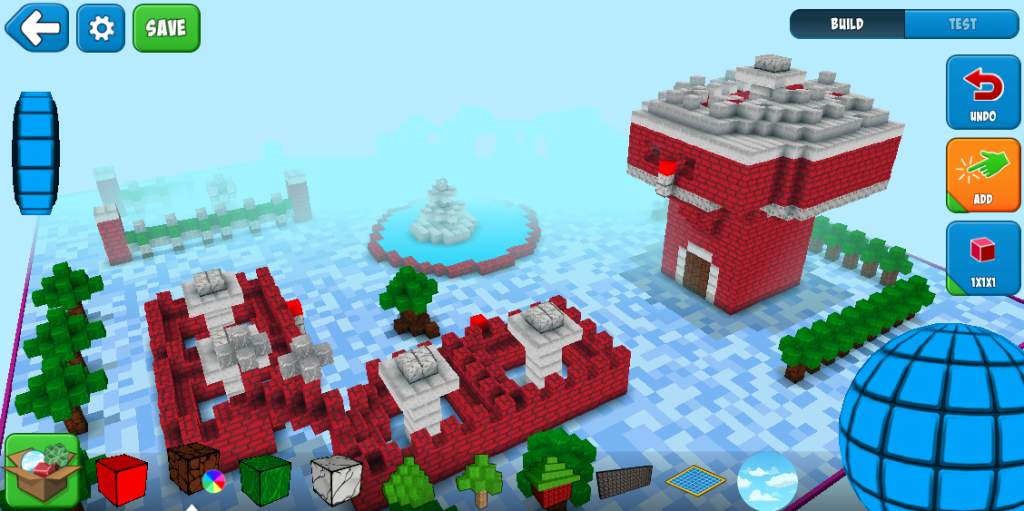
This is what the level looks like now:

world_01

The SVX format

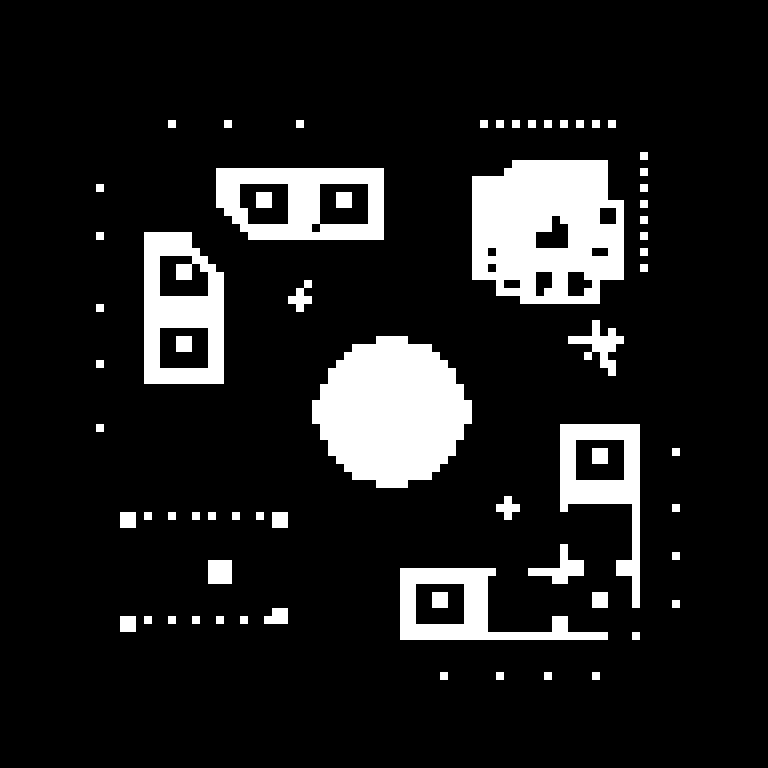
The idea of the SVX is quite simple, since it just wants you to mark a block as occupied by placing a white color, like so:

slice_8

This would be the top down view of the bot level (notice the fountain in the center?)

However, there are a few things that I learned while doing this:

  1. Base: I need to have a base, just placing these pieces on the bottom most layer won’t work as there’s nothing they’re attached to (i.e. the structures would be floating)
  2. Distance: Shapeways has a smoothing algorithm that will make things really smooth, but if the voxels are placed too close together, they will smooth out a bit too much, making a block look like a cone, for example, so for every block I added 8 blocks on the SVX file!
  3. Loose Shells: There’s a final step to the process which detects something called loose shells. This is basically to ensure that there are no floating pieces in a level.
    1. This makes it quite hard to take just any level since everything has to be connected, and at times the insides of structures are not connected since we allow free-form level creation.
    2. Fortunately, the Shapeways model editor tells you exactly where the loose shells are, so its only a matter of editing your level a little bit and you got no more loose shells!

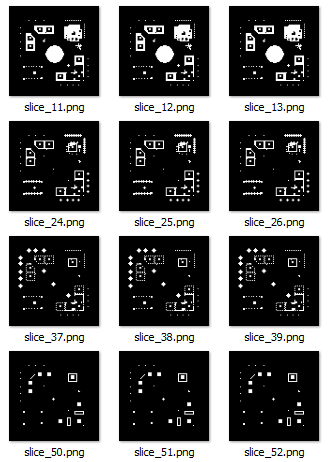
This is part of what the files I used for the model look like:

slices

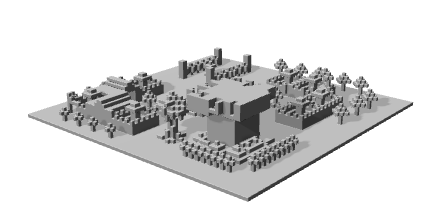
Once I uploaded the collection of files to Shapeways, I ended up with this model:

side_view

Now, it was just a matter of getting it printed and delivered.

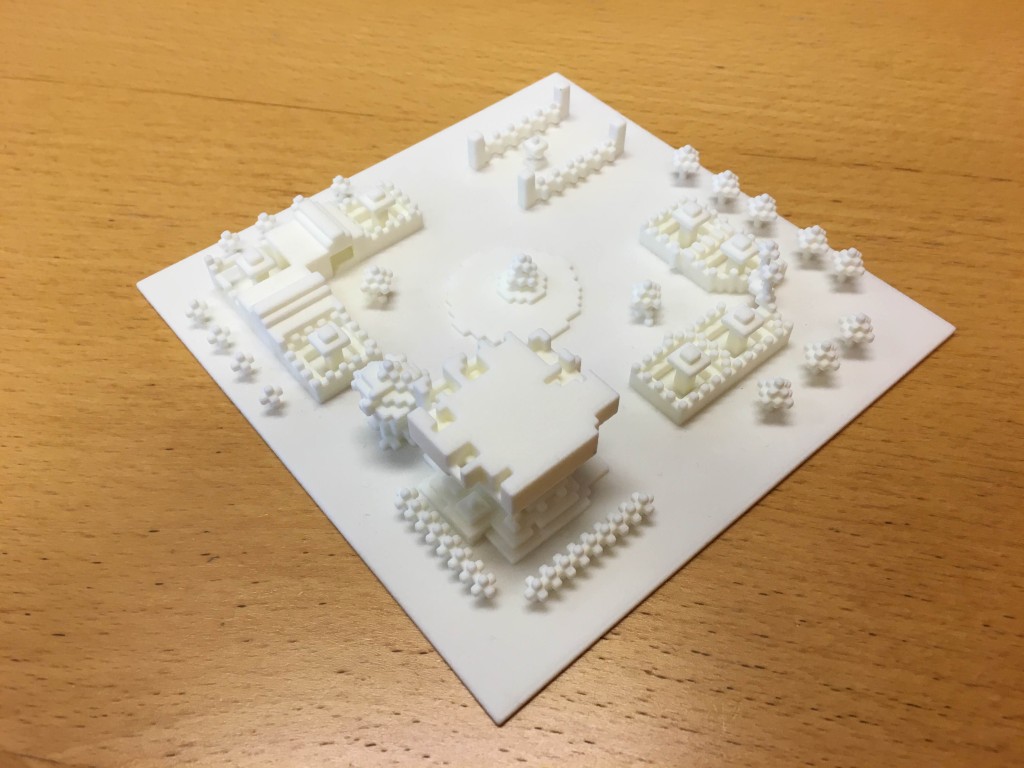
It was an awesome moment when I finally got a 3D Printed version of the code that I’d been writing together with my team for such a long time!

The finished piece

IMG_4037 IMG_4036

If you’re interested, you can check out the level here, and even get a copy of it printed:

  1. RoboBlastPlanet Bot Level

You can also check out other cool stuff that they have in Shapeways, which helped to inspire me to make this 3D print!

You can also follow me on Twitter on @JavDevGames!